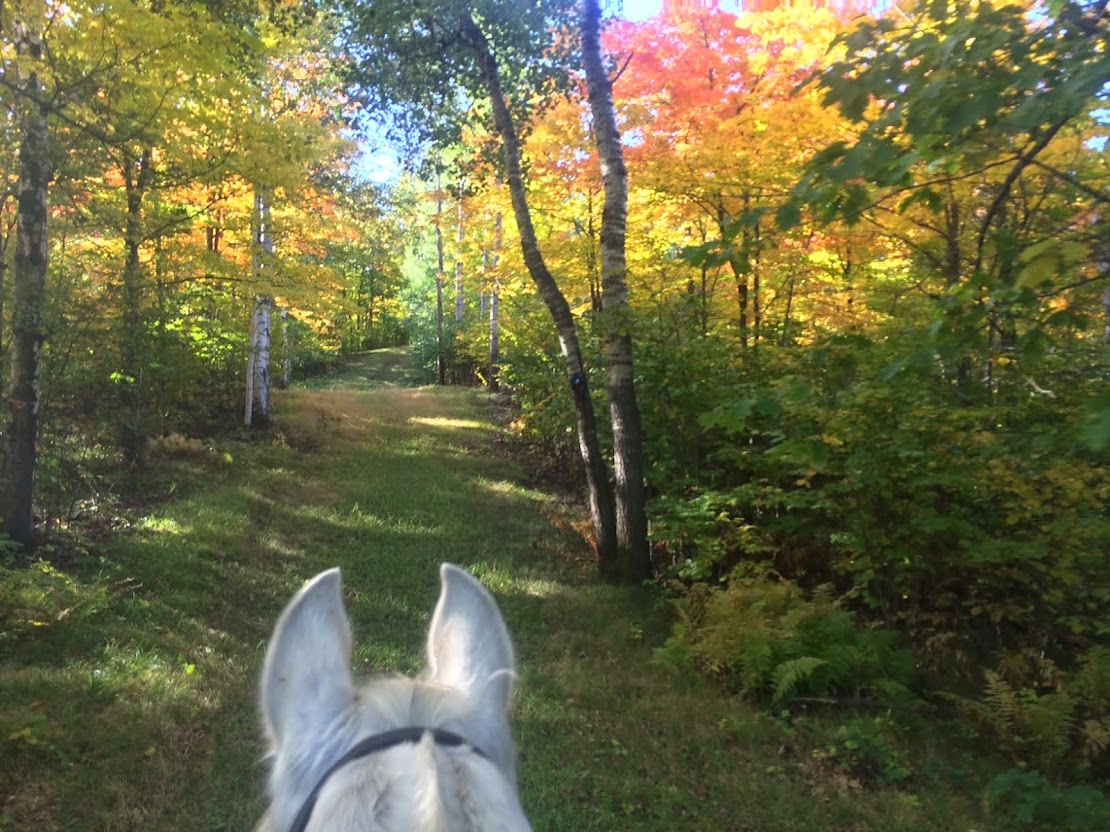
Fall Colors Between Rhio's Ears

Fall Colors Between Rhio's Ears
Showing posts with label instructional. Show all posts

Saturday, November 6, 2010

Saddle TLC

My saddle got really soaked at Point Chaser, since it rained pretty much the entire 30 miles on Sunday.  I'm always amazed at how bad my saddle looks after it has been wet, and then dried.
The saddle appears dull and dry.  
It sat in the living room to dry, then I cleaned it.  I use a weak Murphy's Oil Soap solution and a rag to clean it, per instructions from Synergist when I bought the saddle.

Dirty water after washing the saddle - Ewww! 

Once it's dry from cleaning, I start oiling the leather.  I use olive oil, since that is what Synergist recommends.  Plant-based products are apparently healthier for the leather than petroleum-based products (plus better for the environment!).  

Really, it doesn't need to be organic olive oil - this is just the bottle that I have that is only for saddles - don't like to mix the kitchen with the tack room (too often). 

I lost track of how many coats of oil I put on, but suffice it to say it was at least 3 days worth of multiple applications per day.  The leather soaks up the oil almost instantly.  I continue adding oil until it doesn't soak any more up (or until I'm tired of the whole process and just want to ride!).  

Shiny, happy saddle once again!  

Sunday, April 11, 2010

New Gaiters

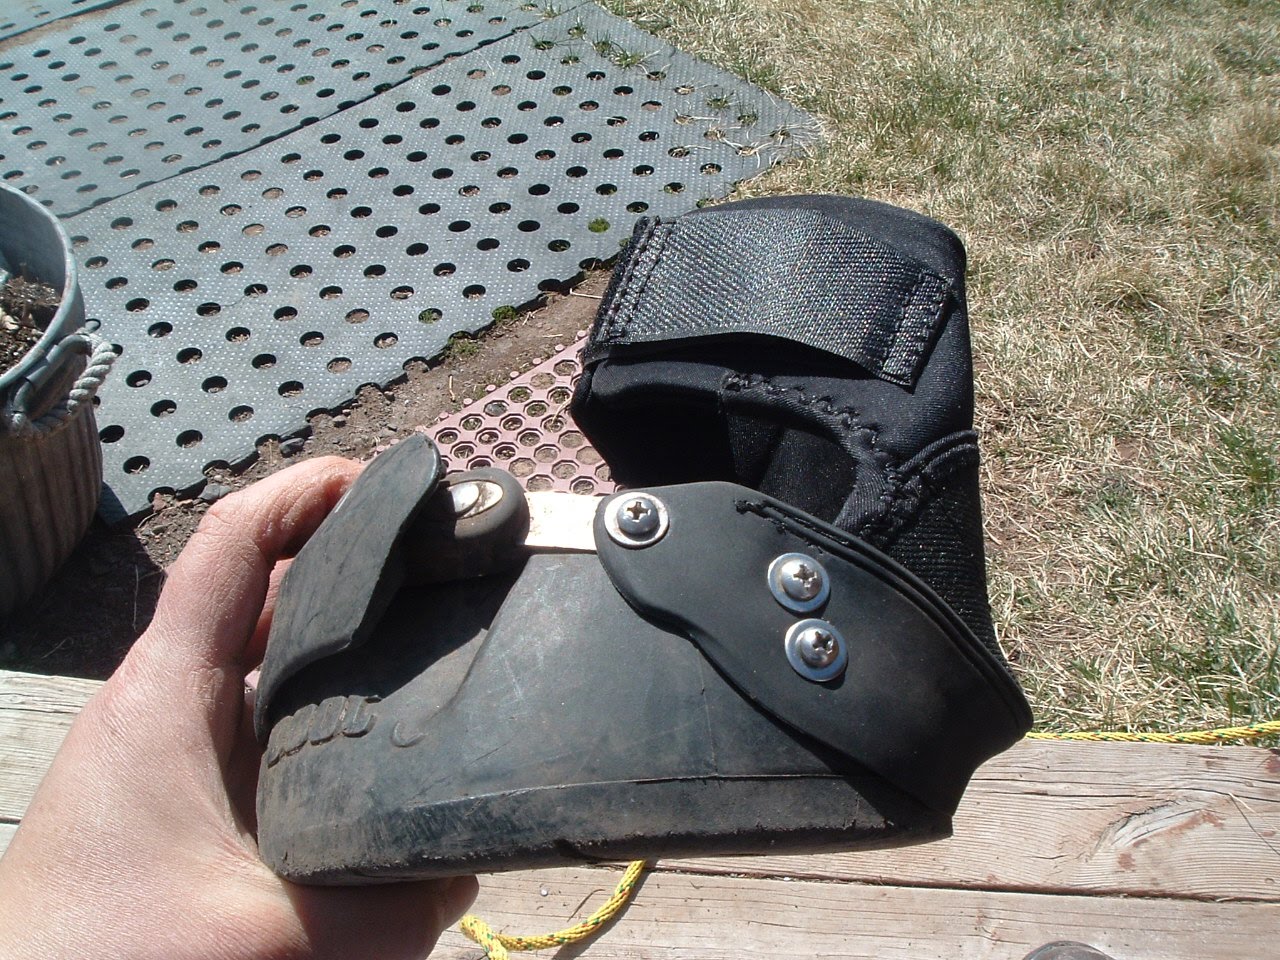
My old Easy Boot Bares with brand spanking new gaiters installed!

Red was wearing these boots on his hind hooves when he lost them in a deep section of mud last year on a trail ride.  Both gaiters ripped off the boots - one completely & one partially.  I was able to find one boot immediately (this would be SO much easier if they were some other color than black!) but couldn't find the 2nd.  Some weeks later, a friend rode that trail again & found the boot - I think she said it was sitting on a rock so someone must have found it & set it out (did they know what it was?).  Yea!  

I have been debating about how to proceed with my boot collection all winter.  Red has been in boots for the past few years, as I haven't been competing him very much (or at all last year).  Rhio has been in steel shoes for ride season (April through November typically) and barefoot in the winter. His feet don't measure for any of the Easy Boot styles very well - they are too wide / too round - and when I have tried using Red's boots on him in the past, they have caused him to start interfering (banging his legs with the opposite leg).  Last year he lost a shoe in front & wore a single Easy Boot Epic as a "spare tire" for one conditioning ride and we had no interfering.  So this spring, I started using the Epics on both fronts and got a few gravel road rides done that way with no apparent issues!  Also, due to his mid-winter coronary band injury & subsequent hoof defect that is starting to grow out, my farrier & I are not hopeful about being able to maintain him in shoes this year.  

Easy Care, the boot company, offers a trade-in program, where you can send in up to 2 old boots to get 50% off up to 2 new boots, but you have to change styles of boot.  For example, if I had sent in these Bares instead of purchasing new gaiters for them, I would have to order a different style - such as the Gloves.  I have been very interested in trying the Gloves, so I had planned to do this.  Then, Rhio managed to step on the gaiter of one of the Epics while I was tacking him up & rip it off the boot.  It was completely my fault, and conveniently it was the Epic with the broken clasp, too.  But now I was down to 1 functional boot!  So, I sent in that broken Epic and an old Old Mac boot I still had and ordered a pair of Gloves that should fit both horses' hind hooves.  And I ordered the new gaiters for the Bares, which I hope will work for both horses' front hooves.  Of course, this leaves me with just 1 full set of boots and 2 horses - although I can only ride one of them at a time, so hopefully this will be ok to start.


What was left of the old gaiters

Required supplies: boot, new gaiter, screwdriver, and toothpicks

The new gaiters came with detailed & easy to follow instructions, although they forgot a step.
Step 1: pick caked mud out of screw heads with toothpicks!


Boot with old piece of gaiter attached - all three visible screws have to be taken out


New gaiter attached at top screw - it now needs to be tucked down into place & secured by the 2 lower screws.

Done!


Both boots done!  Now to break in those new stiff gaiters...


Back view of new gaiters


Sunday, January 31, 2010

Owie

I'd planned to ride today - another Barefoot saddle trial ride and maybe play with some exercises in the arena.  However, I noticed some blood oozing down Rhio's right front hoof so instead spent the afternoon doctoring.  Second horse doctoring of 2010 already and January's just barely over!

It's been a very cold week and Rhio was full of pent up energy.  I took him into the arena for some free exercise and to assess whether he was lame from his injury.  He was happy to run & buck & snort with his tail up in the air, but I could see a slight hesitation when that foot landed.  Also, it sure bled a lot when he moved!  Yikes.

Time to make room in the heated tack room once again, and entice Rhio to walk in.  Neither he nor Cricket would step across the threshold while the little rug in front of the door was there, but as soon as I moved the rug he was happy to come in, turn around, and stand looking out the window at the horses he could see.
Rhio's sleepy face

A little happy juice facilitated the first step - soaking his foot in a bucket of warm water + Epsom salts for about 10 minutes.
Rhio's right front foot firmly ensconced in the "foot bath."

After the soak, it was nice & soft as well as clean, so I could poke around at it a little and try to figure out what had happened.  It looks like the coronary band has been elevated off the hoof wall & pushed up, and it is now swollen & oozes blood with movement.  There's no sign of anything stuck in the wound or any infection (yay!) but he doesn't really appreciate my poking & prodding too much.  
I think this photo actually makes it look worse than it is.

The wound is on the outside of his hoof, and I think possibly it occurred when he stepped through crusty/icy snow and the crust pushed his coronary band up?  I am considering the best way for this to heal since it's vitally important for the coronary band & hoof wall to be attached so that new hoof growth is correct.  My next step for now is a bandage, so I assemble my supplies.
Animalintex poultice pad by 3M, brown gauze, vet wrap, duct tape, and an old Old Mac boot.

By this point, Rhio's happy juice has worn off and he is seeking out the feed which is sitting on the cart ready for the evening meal.  To pacify him and keep him still enough that I can bandage his foot, I let him eat Cricket's soaked beet pulp.  Oh, is he a happy horse!  He loves beet pulp!

It's not too pretty, but it's functional!

The first layer of bandage is the 3M Animalintex poultice pad (http://3m.com/Product/information/Animalintex-Poultice.html), which is one of my favorite products.  I cut a strip and place it directly on the wound - it won't stick and it will draw out any potentially nasty goo which may be in there (technical terms here, of course!). I hold this in place with several wraps of brown gauze and then vet wrap.  I mostly cover the vet wrap in duct tape for durability & protection.  Then, I place one of my old Old Mac hoof boots (http://www.easycareinc.com/Our_Boots/old_macs_g2/Old_Macs_G2.aspx) over the whole thing for additional protection & traction.
The Old Macs are plenty big to fit over the bandage.

Unfortunately for Rhio, he's going to have to spend the night in a stall so I can assess the wound again tomorrow after about 16 hours in the bandage.  I have had horses lose the boot & entire bandage while turned out, so I want to make sure it all stays in place until tomorrow.  

He's happiest outside 24/7, but he isn't too upset about being stalled either.  His buddy Tomas comes in to keep him company, and he gets a nice big pile of hay to munch on.  

He did show off his "it's-feeding-time" antics in anticipation of his grain (despite having just consumed a vat of beet pulp!) - even though he only gets meager handful of "lite" pellets.


Tuesday, January 5, 2010

How To Ride at 5 Degrees Fahrenheit, or I Love Polarfleece

I live in northern Minnesota.  We have a lot of winter.  I ride all winter, outside on trails as much as I can.  So, you may wonder, how does one ride a horse in the winter in MN and stay warm?  Well, it depends on the weather, of course!

This day's ride (December 13, 2009) was a very pleasant one.  I typically find that I am quite comfortable for about 45 minutes of mostly walking.  It was about 5 degrees above zero and sunny, with a light wind (so I'd estimate a wind chill around -15 to -20) - this would be a fairly typical winter ride.  I do a lot of just walking in the winter for two main reasons; one, I try to avoid getting my horses sweaty when it's less than about 20 degrees, and, two, the footing (read: snow drifts) often demands it.

Start dressing with a good base layer.  This is your most important layer - it must wick.  If you get soggy, you will be cold.  I guarantee it!  So, I start with wicking long underwear;  my favorite for riding is  polypro, but I also sometimes wear silk for warmer days.  I use liner socks as well, either silk or polypro.  Then a polarfleece turtleneck.  This completes layer 1.


The middle layer needs to be insulating, but still able to wick.  Remember, moisture next to your skin is your enemy when dressing for cold weather activities!  This ride, I wore my double layer winter riding tights from Kerrits ( http://www.kerrits.com/ ), which have a layer of polarfleece on the interior and some sort of wind blocking smooth material on the outside.  I love these tights!  Also a thin but dense polarfleece zip-neck pullover and a polarfleece vest for my upper body.  My second layer of socks is Smartwool  ( https://www.smartwool.com/default.cfm ) heavy weight trekking socks.  It's very important to make sure your toes can still wiggle in your boots with your chosen sock layers - if your socks make your boots too tight, you will get cold feet.


Finally, your outer layer should be wind- and water-proof, but also breathable.  I'll mention it one more time: moisture trapped next to your skin makes you cold!  For this ride, I wore my very old and very broken in Carhartt insulated overalls and a very old Columbia 3-in-1 winter jacket which has an insulated zip-out layer plus the outer wind- and water-proof layer.  I have the best boots in the world - Steger Mukluks ( http://www.mukluks.com/ ).  Mine are knee-high wool blanket topped mukluks, which  have a dense wool felt liner.  Add a polarfleece neck warmer (navy blue in the photo), a thin polarfleece hat (brighter blue in the photo) which squishes reasonably well under my helmet, my polarfleece helmet cover with built-in neck gaiter, and a pair of REI ski mittens, and I'm set!


So, if you go back and count, I am wearing 3 layers of polarfleece on my upper body, plus 3 layers of polarfleece on my head & neck.  Now that's what I'm talking about!  I won't admit how much polarfleece I actually own, but let's just say I'm still looking for a polarfleece bra to add to my collection.

Now, for you horsey types reading this, you may notice a problem with this attire.  How the heck will I fit my butt in the saddle or my feet in the stirrups?  Well, I don't.  I ride most of the winter in a suede El Companero ( http://www.elcompanero.com/ ) bareback pad.  It's really comfy & secure, my horses seem to love it, and it allows me to share my horse's considerable body heat.  I do have to find something tall to stand on to mount.  It's usually much less than graceful.  I've found snowbanks useful if they're packed enough, otherwise they provide much comic relief as I land laughing on my ass beside or beneath the poor horse - luckily my boys are quite tolerant of this!  Also, since my pad is bright turquoise and my Carhartts are very faded, I end up with a turquoise "blush" on my inner thighs & butt when I'm done riding.  These are small prices to pay, I feel, for a warm & secure ride.


Here, Rhio models the El Companero after our ride.  Another benefit to this style of winter riding - it hardly takes any time at all to tack up and I don't have to take my mittens off!  Rhio usually goes in a hackamore, but I am starting him back in a bit this winter (more on this in future posts) - so there may be a few extra minutes of bit-warming before tacking up.  Again, I'm very grateful to have a heated tack room!

We rode our home trails for this ride.  This is my most common winter riding ground.  The roads around the farm become snow- and ice-packed early in the winter and this layer does not begin to disappear until late February or early March in a good year, so I am limited to on-property rides.  The coldest part is the alleyway between pastures and the hayfield, where the wind can really kick up & chill what exposed skin you have left (eyeballs are about all I have exposed!) - but the trails are wooded and thus protected from the wind.


Last parting advice if you want to ride in winter - go to the bathroom before you dress in all your layers! It's a real pain to have to peel them off if nature calls.